
Tired of mini twist hairstyles that take forever to do but barely last the week? We get it—and we’ve been there too. You spend all that time sectioning and twisting, only to see frizz or unraveling way too soon. That’s why we put this guide together—to make sure your next mini twist style not only looks amazing but also stands the test of time. Whether you’re unsure about the best technique, curious about quick hacks to speed things up, or looking for simple ways to keep your twists fresh, we’ve got real, actionable advice. Inside, you’ll find clear instructions, must-have products, and no-nonsense care tips. So let’s cut the trial and error—your flawless, low-maintenance mini twists start here.
1. Perfect Mini Twist in Less Than an Hour
Let’s be honest—no one wants to spend their whole day twisting hair. That’s why learning to work smarter, not harder, is a game-changer. If you prep your hair properly—think moisturizing with a good leave-in and detangling thoroughly—you’re already halfway there. Once your hair is sectioned, stick to a simple twist method without overthinking every strand. With practice, you can get your entire head done in under an hour. No stress, no mess—just a clean, sleek look. This method isn’t just for pros either. Whether you’re rushing to get out the door or squeezing in self-care after work, this technique makes styling quick and doable.
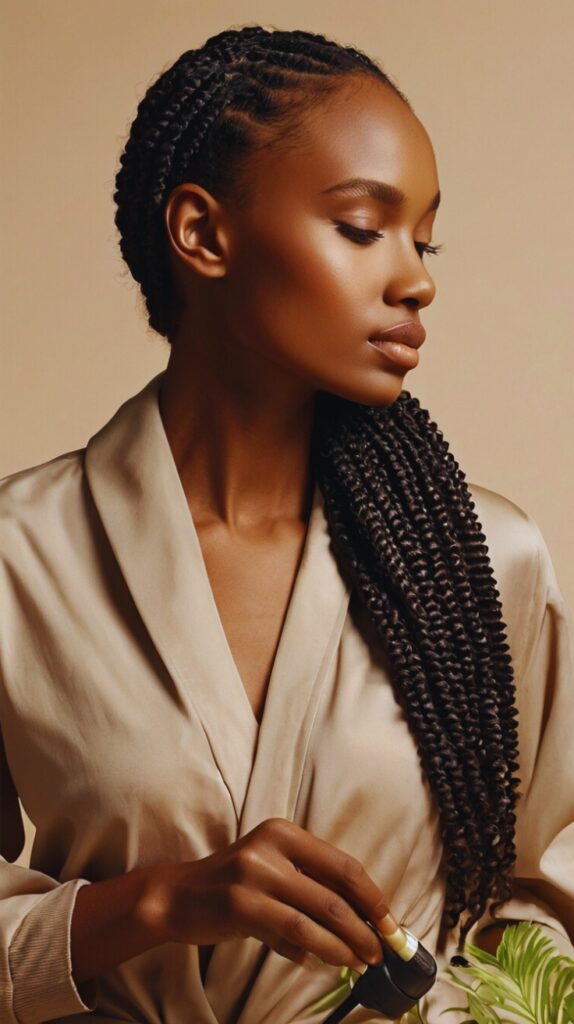
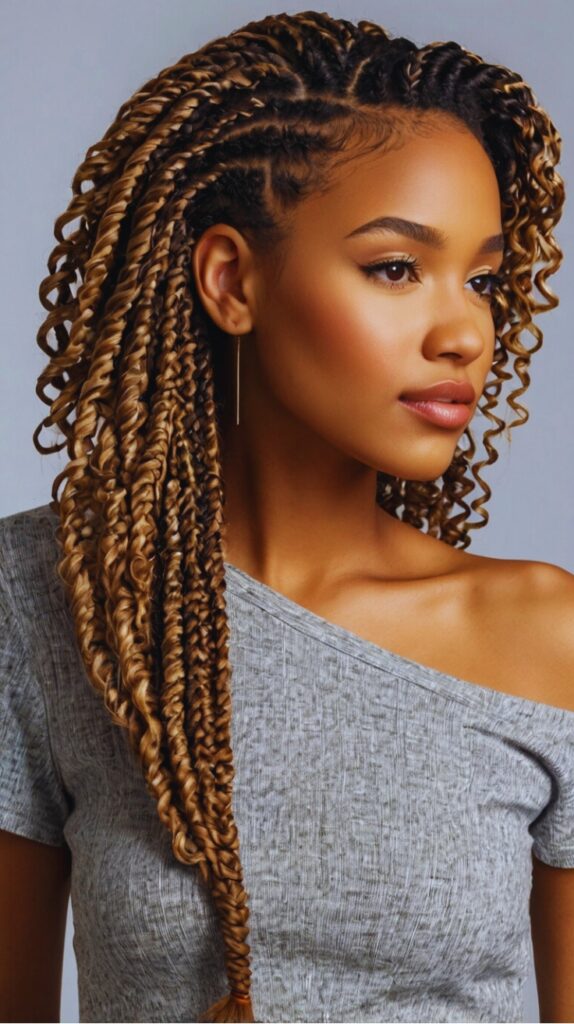
2. Long-Lasting Mini Twists
When it comes to rocking flawless mini twist hairstyles, products make all the difference. You don’t need a drawer full of fancy jars—just a few essentials that match your hair’s needs. A lightweight leave-in conditioner keeps your strands moisturized, while a curl-defining cream or twist gel helps each twist stay smooth and tight. Oils like jojoba or argan can seal in moisture and add a beautiful shine. The trick is to avoid anything too heavy or greasy. We’ll help you identify what works best for your texture so your mini twists not only look great but feel great too.
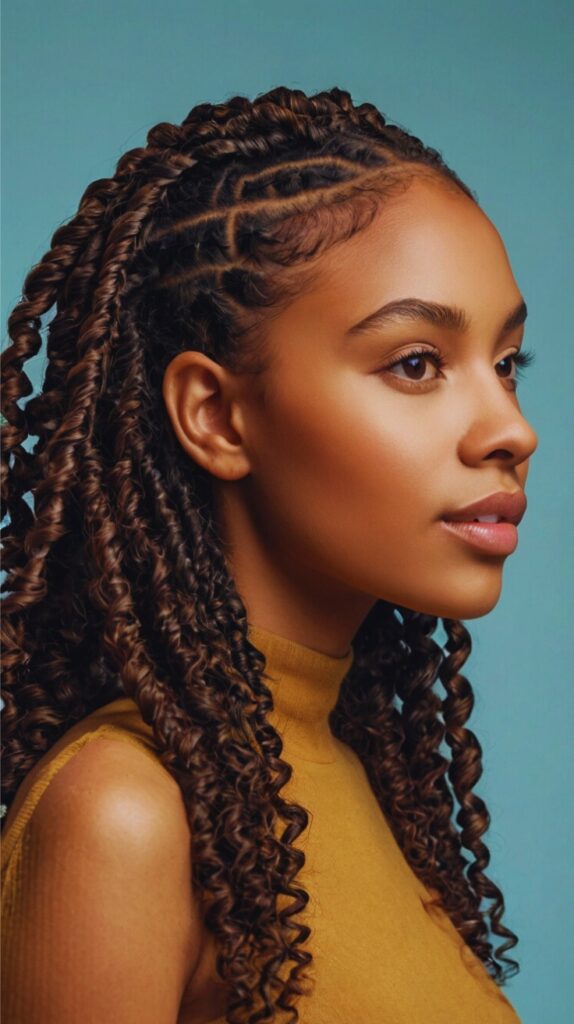
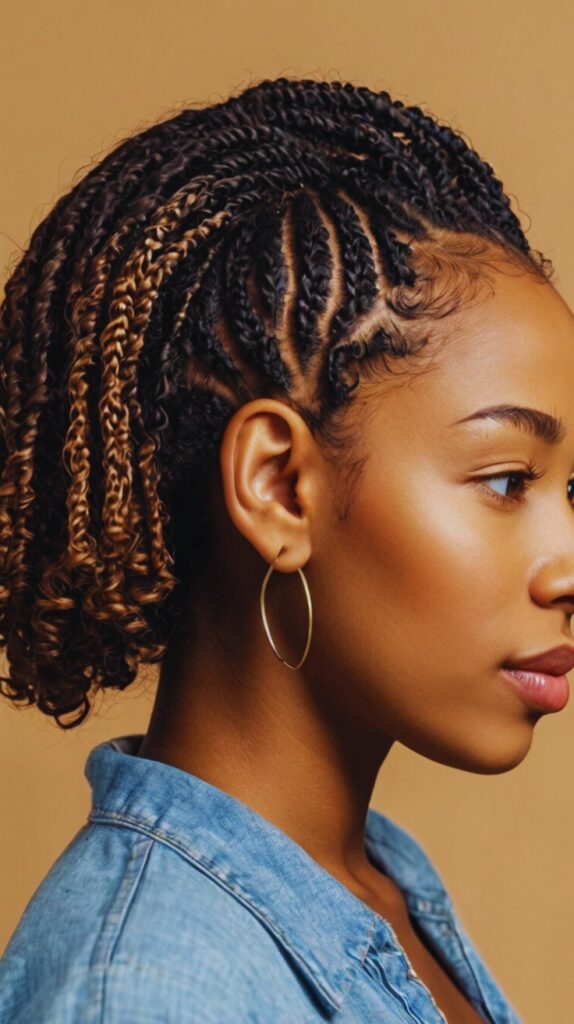
3. Short Hair Mini Twists for a Stunning Look
Short hair and mini twists? Absolutely doable. If you’ve ever thought you needed long hair to make twists pop, it’s time to let that go. Whether you’re sporting a pixie cut or a layered bob, mini twists can still deliver a bold, stylish look. The key is working in small sections so each twist holds firm and doesn’t unravel too quickly. A good twisting cream helps give grip and definition, making the style last longer. Plus, with shorter hair, you can get more creative with parting and direction, adding volume where you want it most. Mini twists are for every hair length.
4. How to Maintain Your Mini Twists for Weeks
Maintaining mini twist hairstyles doesn’t have to be a full-time job. With a few consistent habits, you can extend the life of your style while keeping your twists fresh and neat. Always wrap your hair in a satin or silk scarf before bed—that’s the number one rule. If a few twists start to loosen, don’t panic. Just re-twist the affected areas with a bit of product. And don’t forget to refresh your scalp with a light oil every few days. These little things go a long way. You’ll be amazed how good your twists still look two or even three weeks in.
5. Mini Twist Hairstyles for Various Occasions
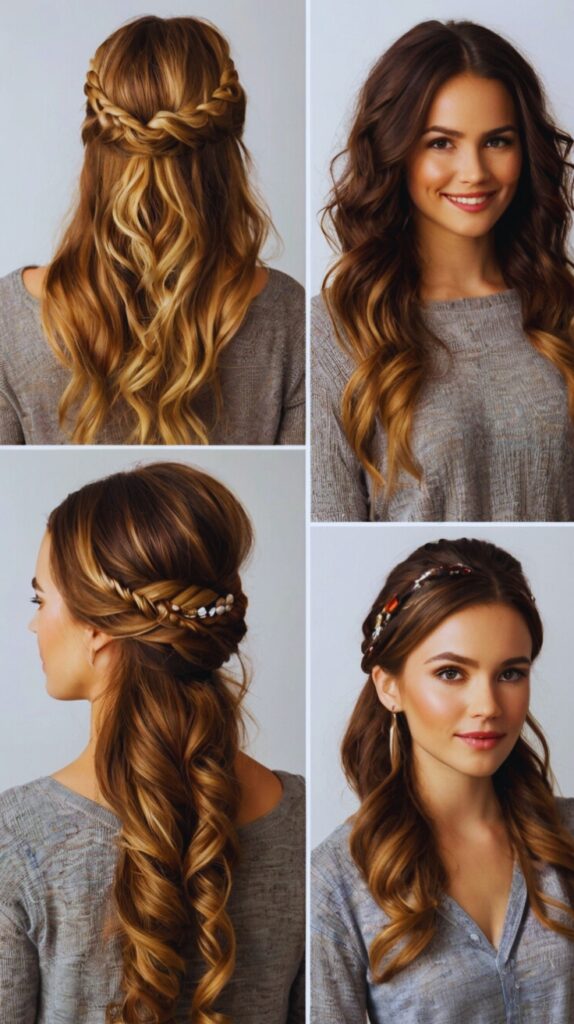
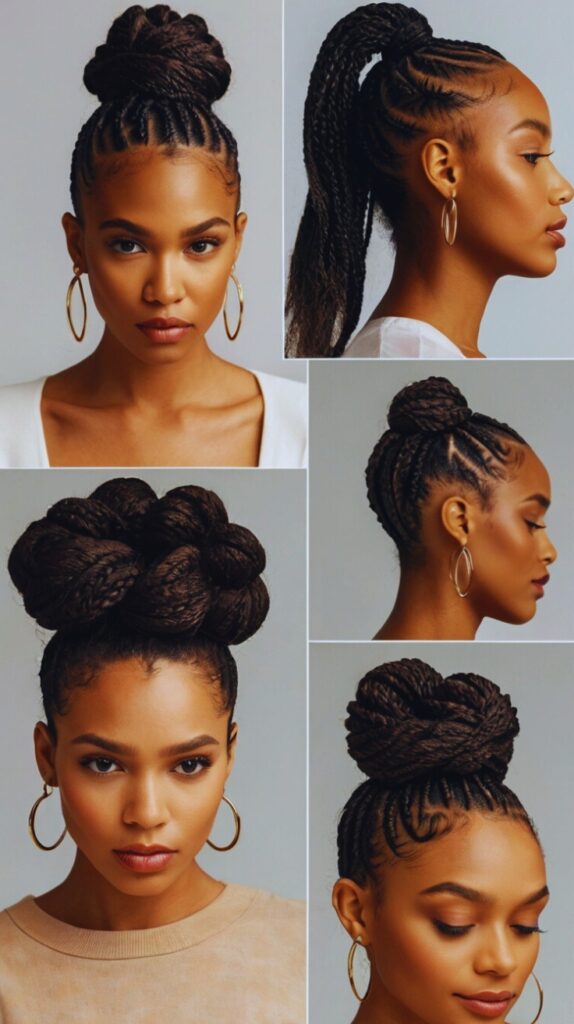
Mini twists are incredibly versatile—you can dress them up or keep them chill, depending on the occasion. Heading to a formal event? Slide on some gold cuffs or hair jewels. Casual lunch with friends? Let your twists fall loose and free. If you’re working a nine-to-five, pin them into a low bun or high puff for a clean, professional finish. The beauty of this style lies in its flexibility. No matter where you’re headed, you can tweak the look with minimal effort. Your twists don’t have to be boring—they can be just as bold or laid-back as your mood that day.
6. Mistakes to Avoid When Creating Mini Twists

One of the biggest challenges with mini twist hairstyles is avoiding common mistakes that can ruin your hard work. Twisting hair that hasn’t been moisturized? Big no-no. Going too tight on the roots? Your scalp won’t thank you later. And using the wrong comb or brush can lead to breakage and uneven parts. But don’t worry—we’re here to help you avoid all that. We’ll walk you through what not to do and how to adjust your routine to avoid unnecessary frustration. Once you catch on, twisting becomes second nature, and the results speak for themselves.
7. Protecting Your Hair While Wearing Mini Twists

Don’t forget—your hair still needs love even when it’s in a protective style like mini twists. It’s easy to assume your job is done once the twists are in, but your scalp and strands still require care. Use a light oil to keep your scalp hydrated, and make sure your twists aren’t pulling too tight at the roots. Protective styles are meant to support your natural hair health, not sabotage it. Add in a weekly misting of water and conditioner, and your hair will thank you later. Healthy hair grows better, and that’s what makes mini twists worth it in the long run.
8. Add Volume to Your Mini Twists
If your mini twist hairstyles look a little flat, don’t worry—you can pump up the volume with a few easy tricks. Once your twists are set, gently separate them at the roots or flip your part to the opposite side for an instant lift. You can also fluff the ends slightly with your fingers for a fuller effect. Bigger sections or twist-outs can add body too. The goal is to create shape without losing that neat look. When done right, volume gives your twists a lively, textured appearance that feels both natural and stylish. Who said mini twists had to be small on impact?
9. Extra Flair Styling Mini Twists with Accessories
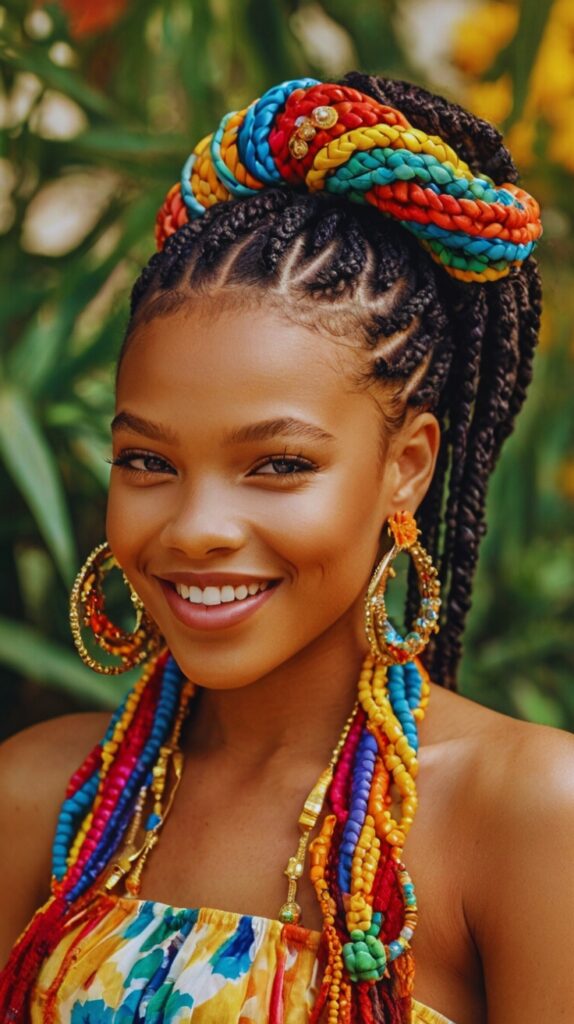
Accessories can totally transform your mini twist game. Don’t underestimate the power of a good headband, a few beads, or a bold hair clip. These simple additions can elevate your style from everyday chill to eye-catching chic in seconds. Feeling boho? Try wrapping a colorful scarf around your head. Want to keep things sleek? Go for minimalist gold cuffs or neutral-toned clips. Whatever your vibe, there’s a way to make your twists match it. Accessories aren’t just decorative—they’re expressive. Let them tell your story and reflect your personality through your hairstyle.
10. Step-by-Step Mini Twist Tutorial for Beginners
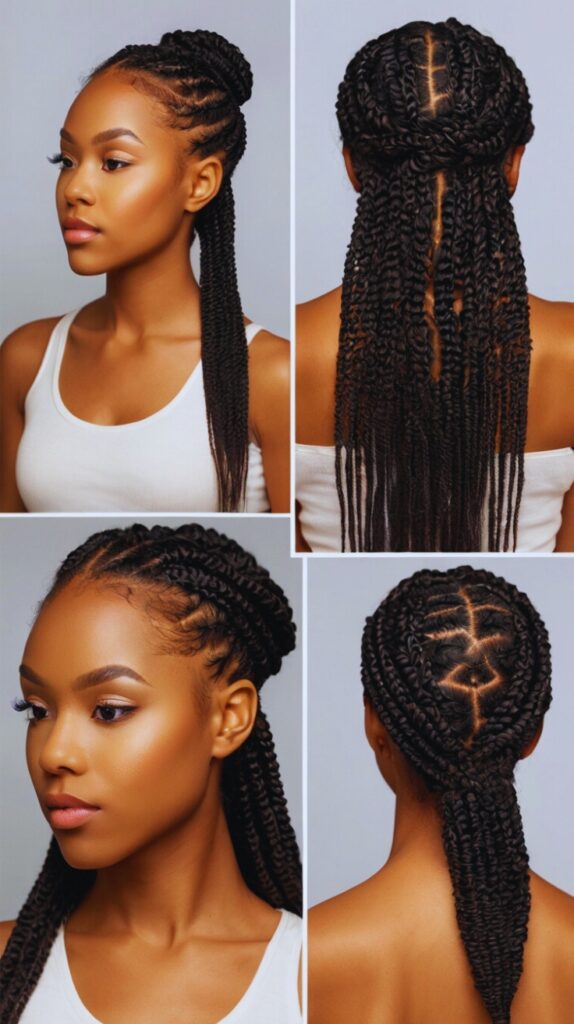
Starting your first mini twist hairstyles journey? We’ve got you. The process might feel overwhelming at first, but once you break it down step by step, it’s easier than you think. Begin with clean, detangled, and moisturized hair. Section your hair using clips or bands, and start twisting from the nape up. Use a small amount of twist cream on each section before twisting to ensure hold. Don’t rush—focus on clean, even parts and smooth technique. With a little practice, your confidence will grow, and soon you’ll be twisting like a pro without even thinking about it.
11. Keep Your Mini Twists Frizz-Free

Let’s talk frizz—it’s a natural part of the process, but that doesn’t mean you have to live with it. The right approach can help you maintain smooth, defined twists without sacrificing volume. First, avoid touching your hair too much after styling. Then, use a satin pillowcase or bonnet to reduce friction while you sleep. Frizz often comes from dryness, so keep your hair moisturized throughout the week. Anti-frizz serums or light oils can also help tame flyaways. Don’t stress over a little puffiness—it can add charm—but if you want that sleek look, we’ve got tips to keep things in check.
12. How to Add Color to Your Mini Twists
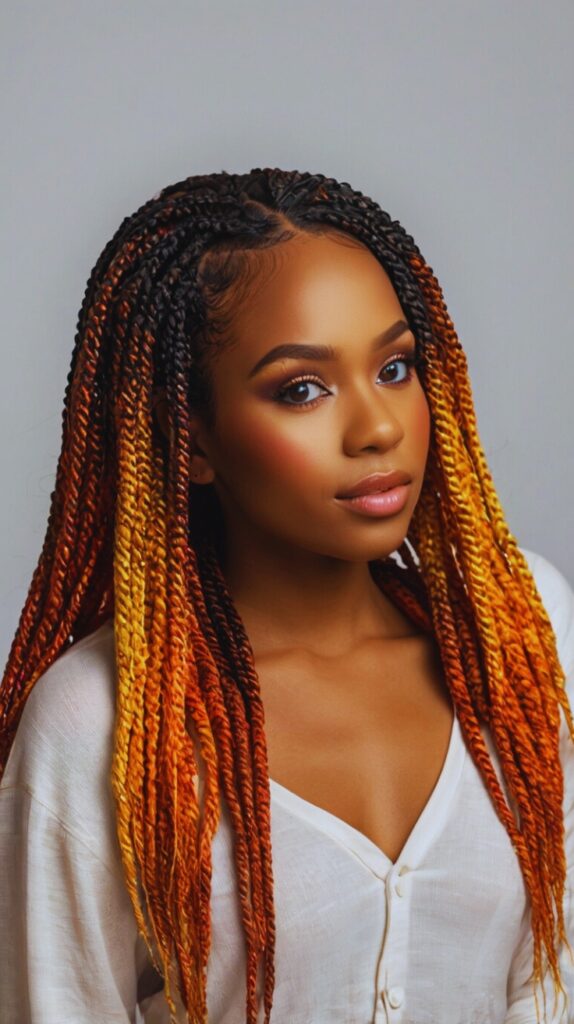
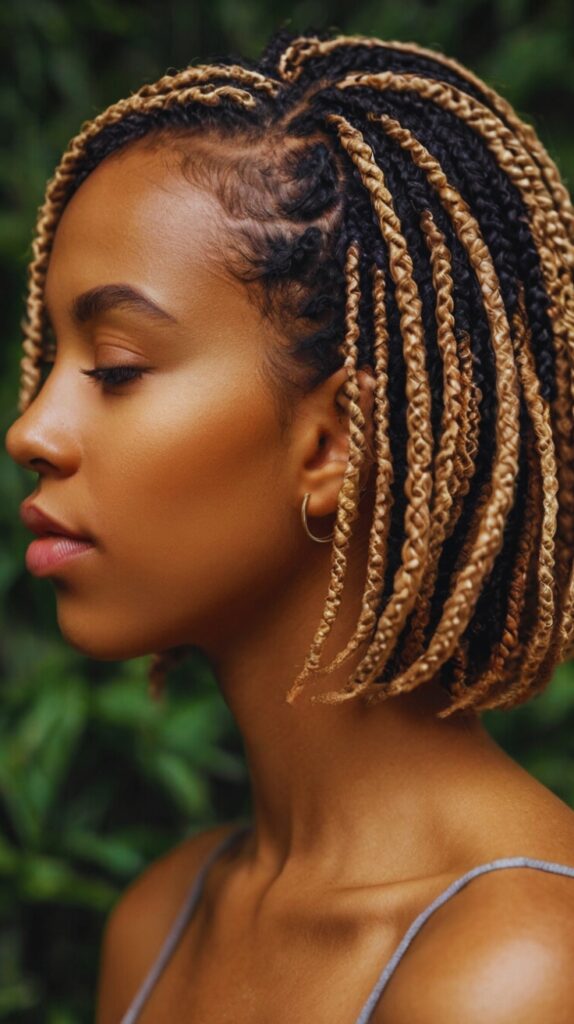
Want to give your mini twist hairstyles a fresh twist? Add color! Whether you’re into subtle highlights or bold streaks, playing with color can bring new life to your look. Temporary hair waxes and chalks are great for experimenting, while semi-permanent dyes offer a longer-lasting option. If you’re using heat or chemicals, make sure your hair is in good shape first—healthy hair holds color better and suffers less damage. You can even go for ombré mini twists if you’re feeling adventurous. The best part? Your twists show off color in a totally unique way, adding dimension and style.
13. Style Mini Twists for Winter Months

Colder weather can really do a number on your hair, but mini twists offer solid protection when winter hits. Still, that doesn’t mean you can skip out on care. Dry air means your scalp and strands need extra moisture. Try using heavier creams or layering a butter over your leave-in conditioner. Wearing a hat? Make sure it’s lined with satin to avoid friction. Keeping your hair protected in the winter doesn’t just help your style last—it also preserves your hair’s health and strength through the harshest months. With a bit of prep, your mini twists can brave the cold beautifully.
14. Mini Twists Last Longer with Nighttime Care

How you treat your hair at night can make or break your mini twist journey. Wrapping your hair in a satin scarf or sleeping on a satin pillowcase isn’t just a suggestion—it’s a must. These simple habits protect your twists from frizz, friction, and breakage. You can also try pineapple-ing your hair loosely at the top of your head to maintain shape. And if you’re in a rush? A satin bonnet will still get the job done. Investing a few seconds in nighttime care pays off big-time, giving you fresh, salon-like twists each morning with zero extra effort.
15. Mini Twists on Natural Hair vs. Relaxed Hair
Different hair types call for slightly different approaches when creating mini twist hairstyles. If you have natural hair, you might need more product to get definition, while relaxed hair often benefits from a lighter touch. The twisting technique may also differ—natural textures hold twists tighter, while relaxed strands may need extra reinforcement to stay put. The point is, knowing your hair is key. We’ll walk you through product combos and techniques that suit both textures. With the right knowledge, your twists can be tailored to highlight your natural beauty—no matter your hair type.
Wrapping It Up!
Hopefully, by now, you’re feeling inspired and ready to master mini twist hairstyles like never before. From the basics to advanced tips, we’ve walked through everything you need to make your twists look fresh, polished, and long-lasting. Whether you’re doing them for the first time or refining your technique, remember that mini twists are all about patience, care, and self-expression. Keep experimenting until you find what works for you. And if you ever need more inspiration or guidance, our site is always here with updated tips, new styles, and advice you can trust. Now go twist with confidence—you’ve got this.